How to Inspect Brake Lines for Wear and Corrosion
Learn how to inspect your brake lines for wear and corrosion to ensure road safety. Discover essential tips and take action now for a safer drive!
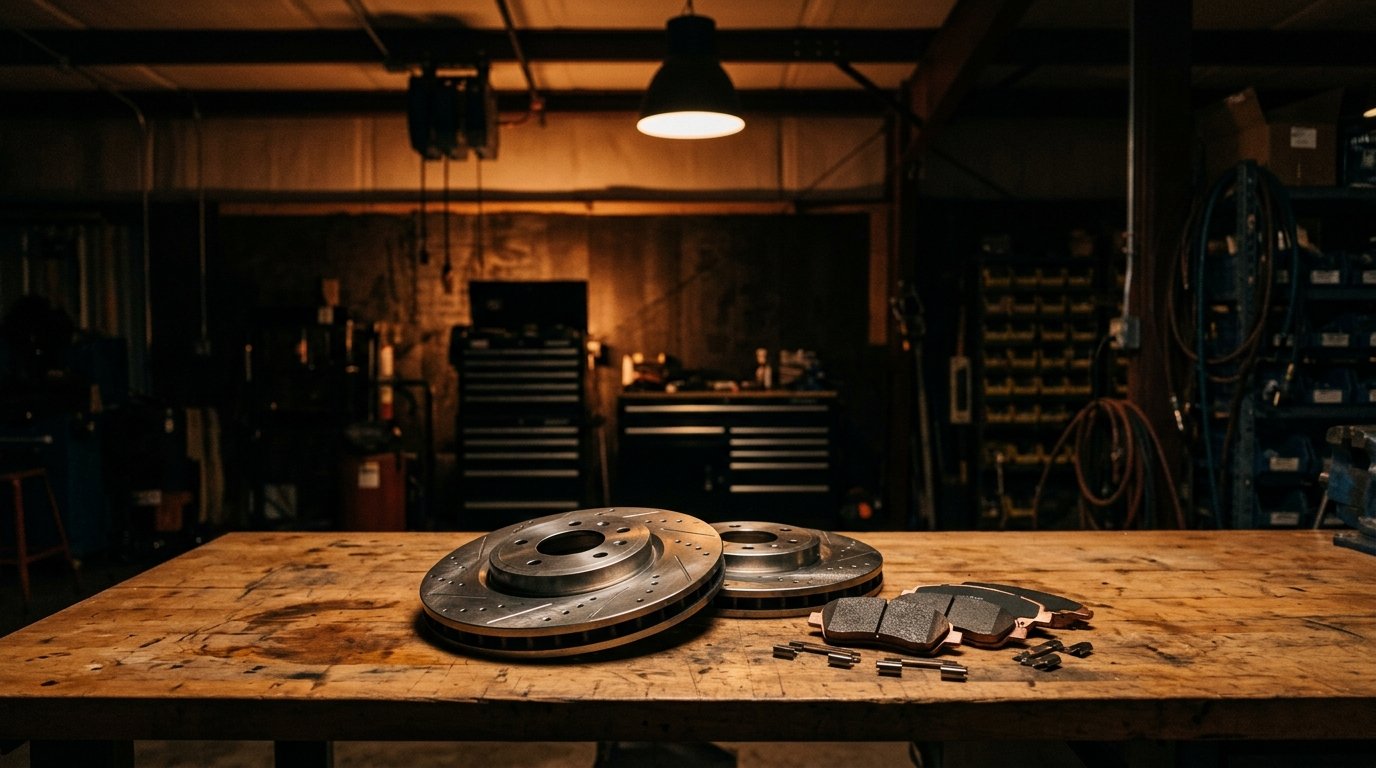
What You'll Need (Tools and Parts)
Inspecting brake lines for wear and corrosion involves a few specialized tools but is generally straightforward for anyone comfortable working beneath their vehicle. Here's what you'll need:
Tools
- Jack and Jack Stands: Rated for your vehicle's weight (consult your owner's manual)
- 14mm Socket and Ratchet: Essential for removing bracket bolts on most vehicles
- Line Wrenches: Specifically a 10mm for most brake lines, prevents stripping
- Flashlight: LED with focus adjustment for better visibility in shadowy areas
- Mirror on an Extendable Stick: Helps inspect hidden areas
- Torque Wrench: Essential for retightening, calibrated to meet manufacturer's specs
Parts
- Replacement Brake Lines: High-pressure rubber or steel, costs range $20-$50 each
- Corrosion-Resistant Brake Fluid: DOT3 or DOT4, typically $10-$20 for a quart
- Anti-Seize Compound: Prevents galling of bolts, $5-$10 a tube
Specialty Tools
- Brake Bleeder Kit: Not strictly necessary just for inspection, but invaluable if repairs lead to bleeding, can be rented for $30-$50
- Mechanic's Creeper: Optional, but saves your back, $40-$70 if purchased
Difficulty Level & Time Estimate
- Rating: Beginner
- Estimated Time:
- First-Timer: 2-3 hours (including set-up and clean-up)
- Experienced DIYer: 1-1.5 hours
- When to Take it to a Shop: If you notice significant rust or fluid leaks indicating a need for immediate replacement, consider professional help, especially for ABS-equipped vehicles where electronic troubleshooting may be necessary.
Safety First
Working under your car demands keen attention to safety:
- PPE: Gloves, safety glasses, and work boots are essential. Brake fluid is corrosive; skin protection is non-negotiable.
- Vehicle Stability: Ensure the vehicle is on solid ground with all wheels chocked and jack stands securely placed.
- Avoid Smoking or Flames: Brake fluid is highly flammable.
Step-by-Step Instructions
-
Prepare Your Workspace:
- Park on level ground, apply the parking brake, and turn off the vehicle.
- Jack up the car using your owner's manual for jack point locations.
- Secure with jack stands at specified points.
-
Locate the Brake Lines:
- Look along the wheel wells and undercarriage.
- Pro Tip: Most wheel wells have an access panel hiding additional line sections — locate and remove these for a complete inspection.
-
Visual and Tactical Inspection:
- Use your flashlight to check for cracks, visible rust, or damp areas indicating leaks.
- Feel for soft spots where rubber may be weakening. Using a mirror can help see the joint areas more clearly.
-
Checking for Leaks:
- Look around the connections and unions for moisture.
- Common Mistake: Overlooked connector leaks. Ensure each joint gets a thorough inspection by tracing lines from master cylinder to calipers.
-
Reassess the Line Supports:
- Check metal clips and brackets for rust. Replace any that are too worn.
- Torque Specs: Refitting these supports require minimal torque but ensure snug without crushing — about 15 ft-lbs.
-
Document Findings:
- Take photos of any areas of concern for reference if consulting a mechanic later.
- Pro Tip: Mark any suspect spots with a dab of chalk for quick reference during repairs.
How to Know It's Done Right
- Post-Inspection Check: Test brake pedal feel before driving. If it feels spongy or low, you may need professional assistance.
- Test Drive: Perform a short drive with steady brakes, checking for unintentional drifting, which might indicate a hidden issue.
- No Break-In Period: Inspections don't change braking dynamics. If you replace any lines, follow a break-in period for the pads/rotors but not the lines.
Common Mistakes to Avoid
- Mistake: Not using line wrenches leading to stripped fittings. Always opt for these tools when possible.
- Mistake: Incorrect torque on fittings post-inspection. Use your torque wrench to ensure tight connections without overtightening.
- Fix: If you strip a bolt or damage a fitting, replacement is usually required, or risk fluid leakage.
When to Replace vs Repair
Deciding Factors:
- Repair: Minor rust can sometimes be treated with rust remover and protective paint.
- Replace: Active leaks, deep rust pitting, or extensive rubber cracking require replacement.
Cost Comparison:
- DIY: Brake lines cost between $20-$50 with the possibility of reusing fittings.
- Shop: Rates typically start at $150 per line due to labor and part mark-up.
Frequently Asked Questions
Q: How can I tell if my brake lines are steel or rubber? A: Steel lines are hard and usually run along the vehicle's body. Rubber lines, conversely, are flexible and connect the steel lines to moving parts like the brake calipers.
Q: What symptoms indicate immediate brake line failure? A: Any brake fluid puddles under the car, a sudden drop in brake pedal resistance, or noticeable brake fade while driving demand immediate action.
Q: Can I just patch a small leak in my brake lines? A: No. Brake lines function under extreme pressure. Even the smallest compromise requires replacement for safety's sake.
Q: How often should brake lines be inspected? A: Aim for an annual inspection, or as part of seasonal maintenance if you live in a high-salt area prone to corrosion.
Q: Are there any signs my vehicle's too rusted for brake line repair? A: If the car body, mounts, or undercarriage show extensive corrosion beyond surface rust, consider a full brake system overhaul or professional advice.
For more detailed checklists and specific instructions tailored to your vehicle, visit OwnerKeep.com where we offer complete maintenance guides. Keeping your brakes in top shape ensures your vehicle stays safe on the road.