How to Measure Brake Pad Thickness
Learn how to measure brake pad thickness with ease to ensure your safety on the road. Follow our simple guide to keep your vehicle in top condition today!
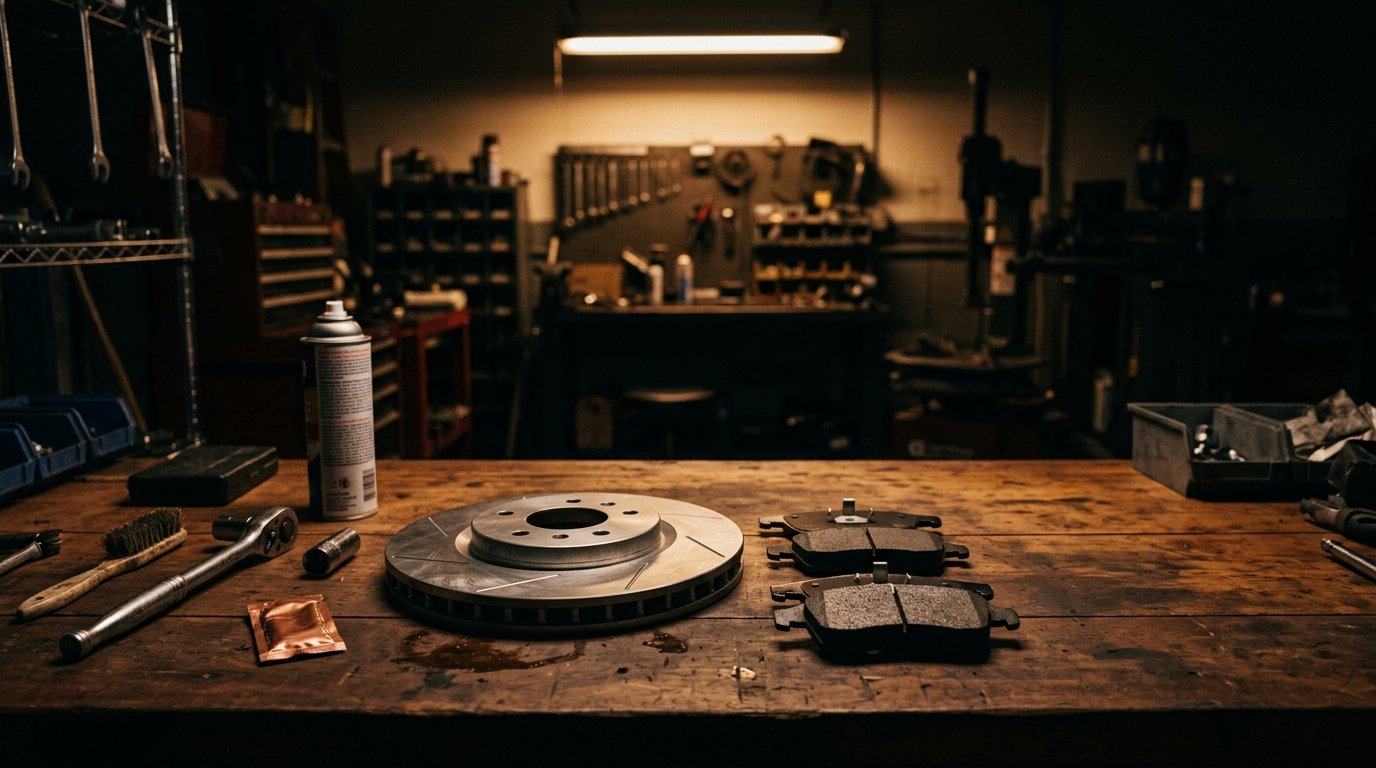
What You'll Need (Tools and Parts)
To accurately measure brake pad thickness, you'll need a few specific tools and materials. Here's a precise breakdown:
- Digital Vernier Caliper: Accurate to 0.01mm for precise measurement (approximately $20-$50).
- 14mm Socket and Ratchet: Commonly used for caliper bolts in many vehicles, especially Hondas and Toyotas. Don't mistakenly grab a 15mm.
- Brake Pad Thickness Gauge: While the caliper will suffice, a specific thickness gauge can simplify the process (typically $10-$15).
- Wheel Chocks: To securely block wheels and prevent any vehicle movement (around $10-$20).
Specialty Tools
- Brake Caliper Wind Back Tool: If you're planning to replace pads after measuring and need to retract pistons (rental fees around $10 at most auto parts stores).
Parts and Costs
- Anti-Seize Lubricant: Small tube ($5-$7) to prevent pads from sticking.
- Replacement Brake Pads: If needed—OEM-specific, such as Honda Accord (2015 model), typically around $25-$50 per axle.
Difficulty Level & Time Estimate
- Difficulty Level: Beginner
- Time Estimate:
- First-timer: Approximately 45 minutes
- Experienced DIYer: Around 20 minutes
If brake pads are worn beyond limits, it's better to replace them. If you're not comfortable after the first measure or hear grinding or squealing noises, consider visiting a professional.
Safety First
Before diving in, emphasize safety:
- Proper Vehicle Lifting: Use a hydraulic floor jack and appropriately rated jack stands (never trust the jack alone).
- Personal Protective Equipment:
- Safety glasses to protect from brake dust.
- Mechanic’s gloves to safeguard against heat from brake components.
- Dust mask if working in an enclosed area to avoid inhaling particles.
Step-by-Step Instructions
-
Park on a Level Surface: Turn off the vehicle and place wheel chocks behind the wheels you'll not be working on.
-
Loosen Lug Nuts: Before lifting, slightly loosen the lug nuts on the wheel where you'll be checking the brakes.
-
Lift the Vehicle: Use a hydraulic jack and securely place jack stands. Remove the wheel.
-
Inspect and Measure the Brake Pad:
- Access the Caliper: On vehicles such as the Ford Focus, remove the 2 caliper bolts (usually 14mm) to pivot the caliper from the rotor.
- Pro Tip: When removing the caliper, support it with a hook or bungee; don't let it dangle by the brake line.
- Measure the Pad: Use the digital caliper across the pad width. Record the thinnest part. Typical new pad thickness is 10-12mm; replace if 3mm or less, as per manufacturer recommendations.
-
Inspect Rotor and Return Assembly:
- If everything checks out, pivot the caliper back, securing it with the 14mm bolts. Tighten bolts to about 25 lb-ft of torque.
-
Reinstall the Wheel: Hand-tighten lug nuts before lowering the car and then fully torque to manufacturer's specifications (typically 80-100 lb-ft for most sedans).
Common Mistakes
- Incorrect caliper placement leading to uneven pad wear.
- Failing to use a torque wrench, risking overtightening or undertightening lug nuts.
Pro Tip:
Always verify torque specs from the vehicle’s repair manual for the exact numbers, as these can vary widely between models and trim levels.
How to Know It's Done Right
Post-Inspection Check
- With all wheels back in place, ensure:
- Brake Fluid Level: Check and amend if necessary after caliper adjustments.
- Pedal Feel: Pump the brake pedal several times to confirm firm pedal pressure due to caliper arrangement.
Test Drive
- Conduct a gentle neighborhood drive, testing brake responsiveness at slow speeds. Listen for any squeaks or grinding, and ensure no warning lights appear on the dashboard.
No Break-In Period
- Unless replacing, there's no break-in necessary for just measuring brake thickness.
Common Mistakes to Avoid
- Neglecting Pad Wear Indicator Noise: If you've ignored the classic screeching, it's not a suggestion; it's a warning of nearing metal-to-metal contact.
- Not Securing the Vehicle Properly: Skipping chocking or improper jack stand placement can lead to severe accidents.
- Inaccurate Measurements: Be sure to measure at the thinnest part of the pad for accuracy.
Fixing Mistakes
If you find inconsistencies in pedal feel post-job, recheck caliper and piston adjustments.
When to Replace vs Repair
Decision Framework
- Replace if thickness is under 3mm. Exceeding that risks rotor damage.
- Repair involves refacing, but cost often leans towards replacement.
Cost Comparison
- DIY Replacement: Brake pads cost $25-$50 and could take a couple of hours.
- Professional Shop: Typically charges $150-$250 depending on brand and labor rates.
Frequently Asked Questions
Q: How can I tell if my brake pads are too thin without removing the wheel? A: Some vehicles have inspection ports or viewing slots. Use a flashlight to gauge wear. However, physical measurement is most accurate.
Q: Why do my brakes squeal after measuring? A: Check if the pads were incorrectly seated or if any retaining clips are making contact with the rotor.
Q: Can I just replace the front pads if both are worn? A: It's crucial to maintain balanced braking. Replace both front and rear if they exhibit similar wear.
Q: Why is one side's pad thinner than the other? A: This could indicate stuck caliper pins or an improperly functioning piston.
Q: Does rotor condition affect pad wear? A: Yes, warped or uneven rotors can expedite pad wear and cause pulsating brakes.
Remember, for vehicle-specific insights and guides to seamlessly managing your automotive upkeep, OwnerKeep.com remains at your service—your ultimate co-pilot in vehicle wisdom.